When to Plant Vegetables Outdoors in Connecticut
Connecticut gardeners often face the same spring dilemma: the calendar says planting season has begun, but the soil is cold, wet, or both. Planting too early can stall seeds and stress transplants; waiting for suitable conditions protects your effort. The most useful approach is to plan by crop type, soil readiness, and current weather—not by a single date that supposedly works everywhere.
Start with soil and weather, not a fixed date
Connecticut’s outdoor planting season is not a single moment. A sunny garden near the coast may warm sooner than an exposed inland bed, while a low spot or heavy soil can stay damp after nearby ground is workable. Even within one yard, a raised bed may be ready before an in-ground plot. That is why a date on a calendar is best treated as a prompt to check conditions, not as permission to plant everything.
Soil temperature and moisture are especially useful for deciding when to sow outdoors. University of Connecticut Extension recommends planting cool-season vegetables when the soil is at least 40 degrees and not too wet. Warm-season vegetables such as tomatoes, peppers, and eggplant need soil of at least 60 degrees, according to University of Connecticut Extension.
Those thresholds separate two very different planting jobs. Cool-season crops can make progress in chilly spring conditions, while warm-season crops need warmer soil and more settled weather. The distinction helps you prioritize what can go into the garden early and what should wait.
Check more than the surface
The top of a bed can feel warm after a sunny afternoon even when the soil below remains cold. If you are using a soil thermometer, take readings in the planting area and at the depth where seeds or roots will sit. Check again if the weather changes sharply, especially after a stretch of cold rain.
Moisture matters alongside temperature. A workable bed crumbles when handled; saturated soil tends to smear, clump, or stick to tools. Digging and planting in wet soil can compact it, leaving dense clods that make it harder for roots and water to move through the bed. If the soil is too wet, waiting is usually more useful than trying to dry it by repeated digging.
For a closer look at this decision, see Checking Connecticut Soil Readiness Before Spring Garden Tillage. That assessment is useful before sowing as well as before preparing the bed.
Treat local conditions as part of the planting plan
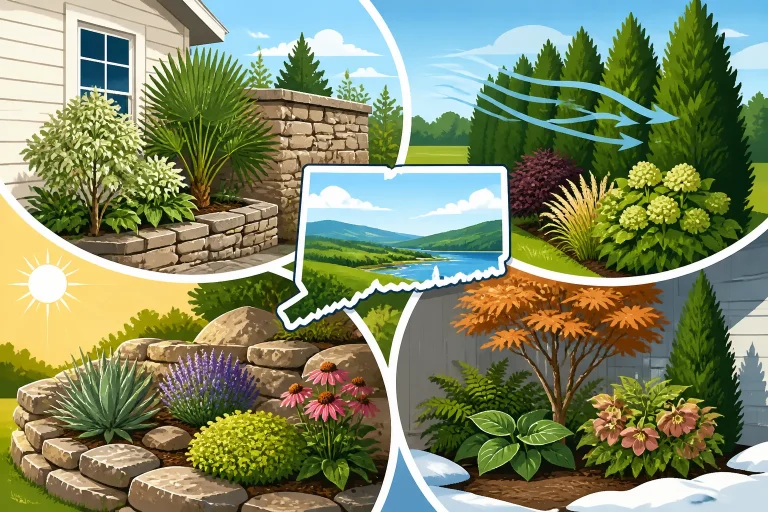
A garden’s exposure, drainage, and shelter can shift readiness. A bed against a sun-warmed wall may warm faster than one in an open, windy area. A sheltered spot can help protect young plants from wind, but it does not guarantee that the soil has warmed enough. Likewise, a raised bed often drains sooner than heavy ground, yet its surface can dry out quickly.
Keep a simple record of when each part of the garden becomes workable, what you plant, and how it performs. Over time, those observations make a more useful local calendar than a generic recommendation. If your garden has noticeably different sunny, shaded, sheltered, or damp areas, plan for them separately rather than assuming the whole plot is ready together.
Sort vegetables by season and planting method
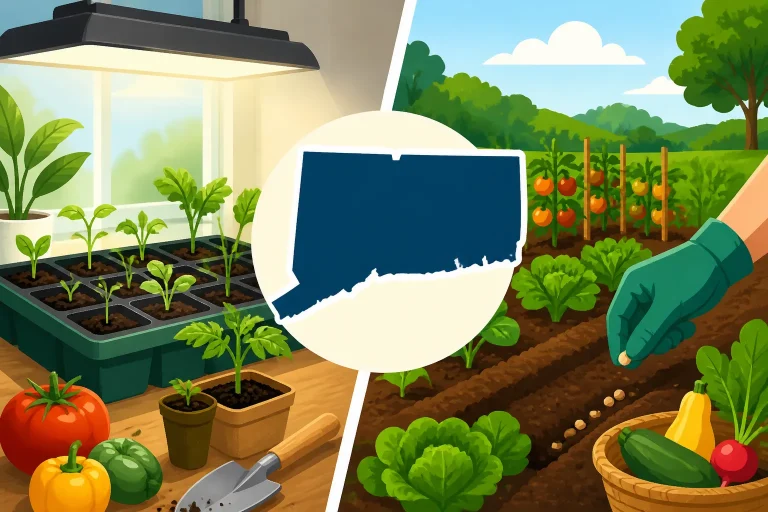
The simplest way to make a planting calendar is to group crops by how they respond to temperature, then decide whether to sow seed outdoors or set out a transplant. A crop’s season matters, but the planting method changes how much protection it needs and how soon it can go into the garden.
| Crop group | Common examples | Outdoor approach | What to check |
|---|---|---|---|
| Cool-season vegetables | Peas, spinach, lettuce, radishes, carrots, beets, and many brassicas | Sow seed or set out suitable transplants when conditions are workable | Soil temperature, moisture, and the crop’s tolerance of cool weather |
| Warm-season vegetables | Beans, corn, cucumbers, squash, tomatoes, peppers, and eggplant | Sow or transplant after the soil has warmed sufficiently | Soil warmth, forecast conditions, and whether plants are hardened off |
| Fall crops | Leafy greens, roots, and brassicas | Sow or transplant with enough suitable growing weather remaining | Crop maturity information, expected weather, and available bed space |
| Container crops | Herbs and vegetables suited to pots | Move outdoors when the site and forecast suit the plant | Container drainage, exposure, overnight conditions, and watering needs |
The categories are useful, but they are not a substitute for checking the seed packet or transplant label. Different vegetables within a broad group may vary in how well they tolerate chill, how quickly they mature, and whether they are usually direct-sown or transplanted.
Direct-sow crops that dislike root disturbance
Some vegetables are most straightforward to plant as seed where they will grow. Root crops such as carrots and radishes, and crops such as peas, are commonly direct-sown because moving young plants can disturb their roots. Leafy greens are also often easy to sow in place. In a prepared bed, sowing directly avoids the need to harden off and transplant seedlings.
Seed depth, spacing, and thinning instructions vary by crop and seed variety, so follow the packet. Sow into soil that is moist but not waterlogged, and keep the seedbed from drying while seeds germinate. A gentle watering method helps prevent seed from washing out or collecting in low spots.
For crop-by-crop choices, Which Crops Are Easiest to Direct-Sow in Connecticut Gardens? can help you decide where direct sowing makes sense. To coordinate outdoor sowing with indoor starts, see Connecticut Indoor Seed Starting and Outdoor Vegetable Sowing Dates.
Use transplants where a head start is useful
Transplants can be helpful for crops that benefit from a longer period of indoor growth or that take a while to reach harvest. They also make it possible to put a young plant in the garden instead of waiting for a seed to germinate and grow. But a transplant is not automatically ready just because it is available. It needs to be acclimated to outdoor conditions, and the garden soil must suit the crop.
Before planting a seedling, check that it is sturdy and healthy. Avoid setting a tender plant into cold, saturated ground and assuming that a cover will solve every problem. A plant exposed to bright sun, wind, and cooler outdoor air too quickly can become stressed even when the soil is suitable.
The move outdoors is a gradual transition, often called hardening off. Setting Out Starts to Harden Off Before Connecticut Planting explains how to prepare seedlings for that change. For the broader distinction between sowing and setting out plants, see Safe Dates to Direct-Seed and Transplant Vegetables Outside.
Plant cool-season vegetables while the garden is still cool
Cool-season crops are the natural starting point for an outdoor vegetable garden. They can grow during the cooler part of the season, and many are less comfortable when heat arrives. That makes them useful for filling early beds, starting a sequence of harvests, and making use of garden space before warm-season crops are ready.
Common choices include peas, spinach, lettuce, radishes, carrots, beets, kale, cabbage, broccoli, and other brassicas. The group is broad: some crops are sown directly, while others may be started indoors and transplanted. A crop’s tolerance of cold does not mean it can be planted into any wet or frozen ground. Readiness still depends on soil condition and the specific crop.
Prepare the bed without working it wet
Clear the bed of weeds and leftover plant material, then loosen the surface only when the soil is workable. If the soil forms a sticky clump or smears against a tool, leave it to dry rather than forcing it into a fine seedbed. When conditions are suitable, break up large clods and make a reasonably even surface so seeds have consistent contact with the soil.
A smooth, even seedbed is especially helpful for small seeds. Large clods can leave seeds exposed or buried too deeply, while uneven ground can cause water to pool in some areas and run off others. Avoid repeatedly pulverizing the soil; a crumbly structure is more useful than dust.
Sow each crop at the depth and spacing on its packet. Cover the seeds as directed, water carefully, and mark the rows or patches. Marking is practical in a busy garden because seedlings can be difficult to distinguish from young weeds. If you are planting several crops together, keep a simple map so you can identify rows before they emerge.
Keep the seed zone moist, not flooded
Seeds need moisture to germinate, but a waterlogged bed can deprive them of air and encourage poor establishment. Check the surface and the seed zone rather than watering by habit. A light covering can help limit drying, but it should not prevent you from noticing whether the soil has become too wet or too dry.
Once seedlings appear, follow the crop’s spacing instructions. Crowded plants compete for light, water, and nutrients, and thinning can be difficult to avoid when seeds are sown thickly. If thinning is needed, do it carefully to avoid disturbing the neighboring seedlings you intend to keep.
Plan for changing temperatures
Spring conditions can swing between mild days and cold nights. Young cool-season plants generally suit this part of the growing year better than heat-loving vegetables, but they still need attention after a sharp weather change. Watch the forecast, check how exposed the bed is, and use a suitable cover if protection is needed. Remove or adjust covers when conditions require it, and avoid letting a cover press heavily on tender plants.
For a practical list of crop choices, see Cool-Season Connecticut Crops to Plant by Soil Temperature. If you want to keep a supply of greens coming instead of harvesting everything at once, Staggered Spring Sowing: Seeding Connecticut Greens Every Two Weeks covers a useful approach to succession planting.
Wait for warmth before planting tender crops
Tomatoes, peppers, eggplant, cucumbers, squash, beans, and corn are familiar warm-season vegetables. They are not interchangeable in every detail, but they share a need for warmer growing conditions than the hardier spring crops. Planting them into cold soil can delay establishment, and a warm afternoon does not necessarily mean the garden is ready for a tender crop.
Warm-season vegetables such as tomatoes, peppers, and eggplant need soil of at least 60 degrees, according to University of Connecticut Extension. Use that guidance as a threshold for those crops, while also checking the needs of other vegetables and the conditions in your particular bed.
Distinguish outdoor sowing from transplanting
Some warm-season vegetables are commonly sown directly in the garden. Beans, corn, cucumbers, and squash are examples, though the best approach depends on the crop, the variety, and the growing season available. Others, including tomatoes, peppers, and eggplant, are commonly set out as transplants.
Direct-sown seed has to germinate and grow under outdoor conditions, so cold or waterlogged ground can slow it down. A transplant has already grown under protection, but it may be more vulnerable to an abrupt change in light, wind, and temperature. Both methods depend on suitable conditions; neither one makes soil temperature irrelevant.
If you are using transplants, avoid setting them out immediately after they have been kept indoors or under sheltered conditions. Harden them off gradually, and keep an eye on the forecast around planting time. A transplant that has adjusted to outdoor exposure is better prepared than one moved straight from a protected environment.
For guidance focused on tomatoes and peppers, see When to Transplant Tomatoes and Peppers into Warm Soil in Connecticut. For cucumbers and squash, Starting Melons and Summer Squash Indoors for Connecticut Gardens discusses the trade-offs of starting these crops under protection.
Make the transition easier for new plants
Choose a calm period when the bed is ready and the plants can be watered after planting. Handle seedlings by the root ball or leaves rather than squeezing the stem. Set them at the depth recommended for that crop, firm the surrounding soil gently, and water enough to settle the soil around the roots without leaving the bed saturated.
Watch newly planted crops closely while they establish. A plant that wilts may need water, but wilt can also reflect transplant stress, wind, heat, or root disturbance. Check the soil before watering again. If it remains wet, adding more water can make the problem worse.
Protecting plants does not mean keeping them covered indefinitely. Covers can buffer wind or temperature, but plants still need suitable light and airflow. Use covers according to their purpose, monitor conditions beneath them, and follow the product instructions where applicable. For periods of intense sun later in the season, How to Use Garden Shade Cloth During Scorching Midsummer Days addresses a different kind of protection from the covers used during cool weather.
Keep planting through summer and plan for fall
The outdoor planting calendar does not end once warm-season crops are in the ground. Summer brings opportunities to sow additional crops, replace an area that has finished producing, or prepare a bed for fall vegetables. The right choice depends on the crop, the weather, and how much growing time remains before conditions turn cold.
A planting plan works best when it accounts for space as well as season. As one crop finishes, remove it if it is no longer productive or healthy, clear the bed, and decide what can reasonably grow there next. Avoid sowing a crop simply because a patch of soil is open; check whether that crop has enough time to mature and whether the site will suit it.
Use crop maturity information as a planning tool
Seed packets and plant labels provide useful information about growth and maturity. Read that information alongside local conditions, rather than treating it as a promise of an exact harvest date. Weather, sunlight, soil, watering, and plant stress can all affect how quickly a crop develops.
For a fall planting, work backward from the period when you expect growing conditions to become less favorable. Consider whether the crop is direct-sown or transplanted, how long it needs to grow, and whether the bed will be available. If a crop needs to be started under protection before setting it out, include that indoor phase in the plan.
Checking Days to Maturity for Reliable Connecticut Harvests can help make this calculation more practical. If you are choosing crops specifically for a shorter remaining season, see Choosing Short-Season Vegetable Crops for Connecticut Beds.
Replant with the season in mind
Leafy greens and root crops can be useful choices for cooler conditions, while crops that need prolonged warmth may be a poor fit late in the growing season. Crop selection should account for the plant’s needs, the condition of the bed, and the weather pattern—not just the amount of empty space.
When preparing a bed after a summer crop, remove diseased plants carefully and avoid leaving weeds to set seed. Replenish the bed in a way that suits its condition, and do not assume that adding fertilizer is always necessary. If you are considering an amendment, use soil-test information and product directions to guide the decision.
For options and timing as autumn approaches, see Connecticut Fall Garden Planting Guide: Crops to Sow for Late Harvest. The fall calendar can also include crops that are intended to remain in the garden as conditions cool, rather than being harvested quickly.
Keep watering consistent as conditions change
Newly sown seed and young transplants need attention as the weather shifts. A bed that stayed moist during cool weather may dry more quickly once sunshine and warm air become more persistent. Containers can dry faster than garden soil, and raised beds may drain quickly. Check the soil directly and water in response to its condition rather than relying on a fixed routine.
Watering habits also affect foliage and disease pressure. Apply water to the soil where possible, especially when plants are susceptible to leaf problems, and avoid keeping the bed waterlogged. Weekly Watering Guide for Connecticut Vegetable Beds offers additional help for adjusting watering to garden conditions.
Build a flexible planting calendar for your own garden
A useful calendar is a sequence of decisions, not a rigid list of dates. It tells you what to check, what can be planted under current conditions, and what should wait. Keep separate notes for direct-sown crops, transplants, and fall plantings so that a delay in one part of the garden does not derail the whole season.
A practical decision sequence
Use this order whenever you are deciding whether to plant outdoors:
- Identify whether the crop is cool-season or warm-season, and check its individual growing instructions.
- Decide whether it should be direct-sown or transplanted.
- Check soil temperature for the crop group and check that the bed is not too wet.
- Review current weather and the conditions expected around planting.
- Confirm the recommended seed depth, spacing, and transplanting instructions.
- Prepare only the area you are ready to plant, keeping the rest of the bed undisturbed.
- Water appropriately and mark the planting so you can track germination or establishment.
- Record what you planted and what conditions the garden had.
This sequence reduces the temptation to treat a single warm day as a signal to plant every crop. It also helps you catch common problems early. If seed has not emerged, for example, consider whether the soil dried out, stayed too wet, or remained colder than expected before sowing again.
Keep a record that improves with each season
A notebook or simple garden map can capture the details that generic calendars cannot: which bed warmed first, where puddles lingered, which crops struggled in a windy spot, and where a transplant established well. Record observations rather than trying to make them sound precise. “This bed stayed wet after rain” is more actionable than a vague note that it was “bad for planting.”
Include the crop name, planting method, general conditions, and what happened afterward. Note whether seeds germinated reliably, whether transplants needed extra protection, and whether a crop matured before the season changed. Over time, these observations can guide decisions about bed location, crop choice, and whether to sow directly or start seedlings indoors.
If you garden in more than one type of space, keep notes for each. A container on a sunny patio behaves differently from a low bed in the ground. A sheltered corner may be useful for a tender transplant, while an open bed may suit robust direct-sown crops. Treat those differences as planning information, not as a reason to force all planting into one schedule.
Avoid the common timing mistakes
Planting by a traditional date alone can overlook a cold, wet spring. Planting after one warm afternoon can confuse surface warmth with conditions throughout the seed zone. Working soil while it is saturated can damage its structure. Setting out a tender transplant without hardening it off can create stress even when the bed appears ready.
The opposite mistake is waiting for ideal conditions across the entire garden before planting anything. Cool-season crops may be ready while warm-season crops still need to wait. Organizing the garden by crop group lets you make progress in stages and reduces the pressure to plant everything at once.
Be cautious about copying someone else’s timing without considering their location, exposure, and soil. A neighbor’s raised bed may drain sooner than an in-ground garden, and a sheltered yard may not match an exposed site. Local experience is valuable, but the best decision still comes from checking the conditions where your vegetables will grow.
Frequently Asked Questions
Can I plant vegetables as soon as spring arrives?
Not necessarily. Spring on the calendar does not tell you whether your soil is warm enough or dry enough to work. Check the crop’s temperature needs and the condition of the planting bed.
Which vegetables can go outside earliest?
Cool-season vegetables are generally the first group to consider. Peas, spinach, lettuce, radishes, carrots, and some brassicas are common choices, but use the crop’s growing instructions and check local soil conditions before planting.
Should I direct-sow or use transplants?
It depends on the crop. Root crops and peas are often easiest to sow where they will grow, while some vegetables are commonly set out as transplants. Follow crop-specific instructions and harden off seedlings before moving them outdoors.
How do I know whether soil is too wet to plant?
If soil sticks heavily to tools, smears, or forms dense clumps when handled, wait for it to dry. Planting and digging in saturated soil can compact it and make a poor seedbed.
Can I plant a second crop after spring vegetables?
Often, yes, if the bed is available and the next crop has suitable growing conditions and enough time to mature. Check maturity information, the season ahead, and the crop’s temperature needs before sowing.
Sources
- University of Connecticut Extension — Vegetable Gardening | UConn Extension | College of Agriculture, Health and Natural Resources | University of Connecticut (checked November 15, 2026)
Disclaimer
This article is for general informational purposes only and does not constitute professional advice. Laws, prices and regulations vary by location and change over time. Consult a qualified professional for guidance on your specific situation. Connecticut Gardening Guide is not a government agency and is not affiliated with any university extension, state department of agriculture or other government agency.